

 English
 中文简体
中文简体 Español
How to use the broad and fine tips of a highlighter effectively?
Content
- 1 Understanding the Two Tips and What They Are Built For
- 2 How to Hold Each Tip for the Best Results
- 3 Choosing the Right Tip by Study or Work Scenario
- 4 Practical Color-Coding System Using Both Tips
- 5 Avoiding Common Mistakes With Each Tip
- 6 Maintaining Both Tips for Longer Highlighter Life
- 7 Creative and Professional Uses Beyond Basic Highlighting
A highlighter's broad chisel tip is designed for covering large text blocks and wide lines, while the fine tip gives you precision control for narrow spaces, small fonts, and detailed underlining. Using the wrong tip for the task leads to messy overlap, skipped words, or wasted ink. Once you understand which end to reach for and how to hold it, your highlighting becomes faster, cleaner, and more effective.
Understanding the Two Tips and What They Are Built For
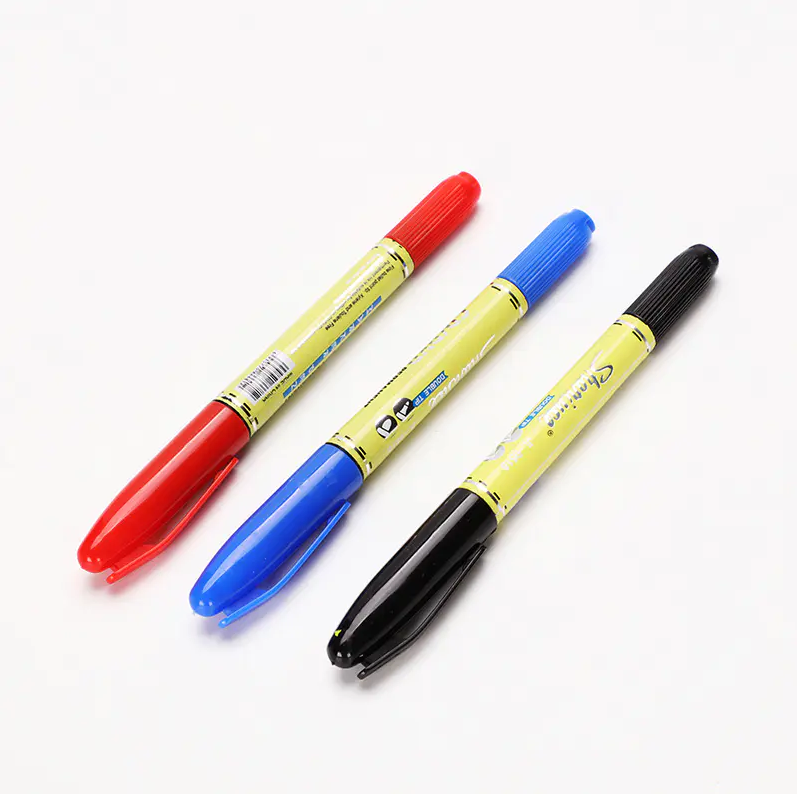
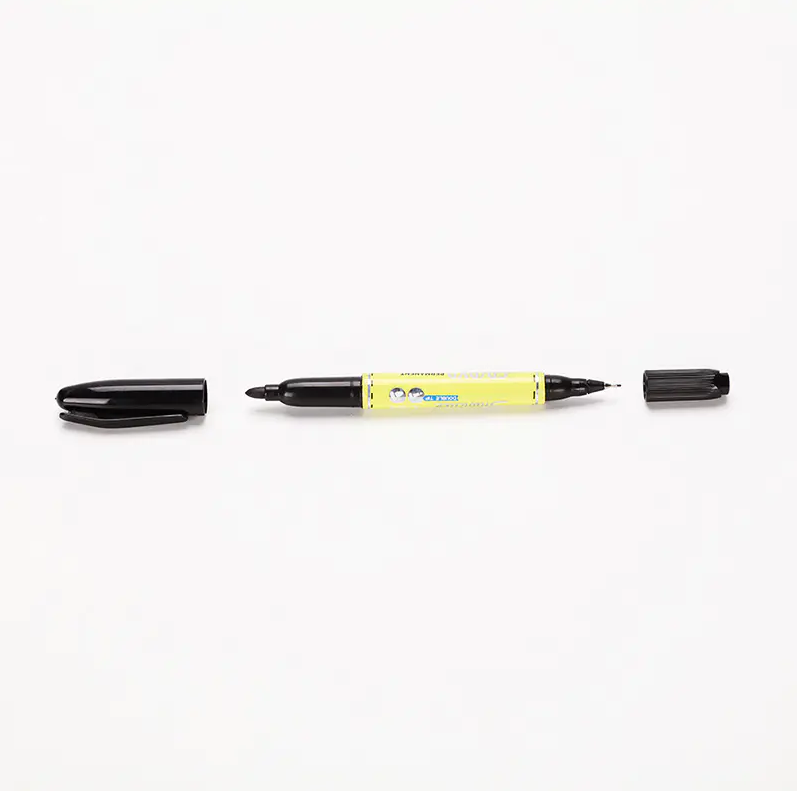
Most dual-tip highlighters feature a wedge-shaped or chisel broad tip on one end and a bullet or needle fine tip on the other. These are not interchangeable — they serve distinct functions.
The Broad Tip
The broad chisel tip typically covers a stroke width of 4 mm to 7.5 mm depending on the angle you hold it. When held flat (low angle), it lays down the widest stroke. When held more upright, the edge produces a medium-width line. This tip is ideal for:
- Highlighting full sentences in books or printed documents
- Covering multiple lines in one smooth pass
- Color-blocking sections of notes for quick visual scanning
- Creating consistent, even strokes across standard-size text (10–12 pt font)
The Fine Tip
The fine tip generally produces a line of 0.5 mm to 1.5 mm. This narrow point gives you surgical precision. It works best for:
- Highlighting individual words or short phrases in dense text
- Marking up small-print materials such as legal documents or footnotes
- Underlining rather than filling over text
- Annotating narrow column layouts like newspapers or academic journals
- Drawing neat boxes or brackets around diagrams and charts
How to Hold Each Tip for the Best Results
Grip and angle directly affect line quality, ink deposit, and how long your tip lasts.
Broad Tip Technique
Hold the pen at a 30–45° angle to the page to engage the full flat face of the chisel. Pull the pen horizontally from left to right (or right to left if you prefer) with light, consistent pressure. Pressing too hard crushes the tip fibres and creates uneven edges. A single slow pass usually deposits more than enough ink — there is rarely a need to go over the same line twice.
Fine Tip Technique
Hold the pen more upright, closer to 60–80°, so only the very tip contacts the paper. Use the same light touch. Because the ink reservoir feeds a narrower contact point, the fine tip can actually deposit more ink per millimetre if you move too slowly — keep your strokes steady and at a moderate speed to avoid bleed-through on thinner paper.
Choosing the Right Tip by Study or Work Scenario
| Scenario | Recommended Tip | Why |
|---|---|---|
| Textbook chapter review | Broad | Wide lines cover full sentences efficiently |
| Exam paper annotation | Fine | Tight spacing between lines requires precision |
| Color-coding note sections | Broad | Fills headers or blocks quickly for visual hierarchy |
| Legal or contract review | Fine | Small print needs narrow, accurate marks |
| Bullet journal decoration | Both | Broad for fills, fine for outlines and detail work |
| Newspaper clippings | Fine | Narrow columns and thin paper risk bleed with broad tip |
Practical Color-Coding System Using Both Tips
One of the most productive uses of a dual-tip highlighter is building a layered color-coding system that leverages both tips simultaneously. A simple example used by many students and professionals:
- Broad tip in yellow — main arguments or key concepts
- Fine tip in yellow — specific data points or dates within those highlighted sections
- Broad tip in pink — definitions or vocabulary
- Fine tip in blue — questions or areas needing further review, written in the margin
This layered approach works because the fine tip allows you to add secondary detail marks without disturbing the broad color blocks already applied. Research on active recall suggests that visually organized notes improve retention by up to 29% compared to unformatted material, making tip selection a meaningful productivity decision, not just an aesthetic one.
Avoiding Common Mistakes With Each Tip
Mistakes With the Broad Tip
- Highlighting too much: Studies on effective studying indicate that students who highlight more than 10–15% of a page retain less than those who highlight selectively. Use the broad tip for genuinely critical content only.
- Pressing down hard: Excess pressure splays the chisel fibres, permanently widening the tip and creating ragged edges.
- Using it on thin paper: Pages under 60 gsm are prone to bleed-through with the broad tip's higher ink volume per stroke. Switch to fine or test a corner first.
Mistakes With the Fine Tip
- Moving too slowly: Dwelling on a spot saturates the paper and causes ink pooling, which spreads under text and reduces legibility.
- Capping tightly when switching tips rapidly: Frequent uncapping and recapping without fully seating the cap accelerates ink evaporation. Always press caps firmly until you hear or feel a click.
- Using it as a pen for writing long annotations: The fine tip of a highlighter is not a writing instrument — the ink is translucent and will not produce legible text over white paper. Use a regular pen for margin notes.
Maintaining Both Tips for Longer Highlighter Life
A dual-tip highlighter shares a single ink reservoir between both tips. How you care for each affects the lifespan of both.
- Store horizontally: Keeping the pen flat distributes ink evenly across both tip fibres, preventing one end from drying out faster.
- Cap immediately after use: Even 30 seconds of exposure to air can begin to dry out a fine tip. Make capping a reflex, especially for the fine end.
- Revive a dried fine tip: If the fine tip has dried slightly, press it gently onto scrap paper with light circular motions. Ink from the reservoir will slowly re-saturate the tip fibre. Do not press hard or rotate forcefully.
- Avoid contamination: Drawing over wet correction fluid or other ink types can clog both tips. Always let surfaces dry fully before highlighting over them.
Creative and Professional Uses Beyond Basic Highlighting
Once you are comfortable switching between tips, both ends become versatile tools for visual communication well beyond standard note-taking.
In Planning and Organisation
- Use the broad tip to fill in calendar blocks or weekly spreads with a wash of color, then use the fine tip to add priority symbols or task numbers within those blocks.
- Mark project milestones with a broad stroke across a timeline, then fine-tip the exact dates below the line.
In Presentations and Reports
- On printed slide handouts, use the broad tip to emphasise a speaker's key message and the fine tip to circle specific data points you want to follow up on.
- In hand-drawn infographics or mind maps, the broad tip fills background areas while the fine tip adds connecting arrows or labels without smudging the fill color.
In Art and Lettering
- The broad tip creates soft watercolor-like washes when used on bleed-proof paper, ideal for background gradients in hand lettering.
- The fine tip can draw hairline accents and shadow lines on lettered pieces, adding dimension without needing a separate pen.
LATEST POST
Let’s create something amazing together
contact usFeatured Products
-
Office Use Gel Pen With Rubber And Flexible Clip Costomized Color Gel Pen 988
-

Office Use Gel Pen With Rubber Costomized Color Gel Pen 3192
-
Student Use Gel Pen With Cap Costomized Color Gel Pen 5015
-
Office Use Gel Pen Designs With Grip And Write Smoothly Gel Pen 3166
-
Office Use Pressing Gel Pen Simple Style Costomized Color Gel Pen 3055
-
Student Use Gel Pen With Cap With Macaron Color Design Gel Pen 3192
-
Students Use The Popular New Transparent Matte Designgel Gel Pen 3147A
-
Student Use Pressing Gel Pen With Grip And Pen Holder For Comfortable Writing Gel Pen 988
-
Student Use Mechanical Pencil With Cartoon Design And Colored Acrylic Pressing Head Mechanical Pencil 2140
-
Student Use Mechanical Pencil With Popular And Selling Style Mechanical Pencil 2124
-
Student Use Mechanical Pencil With Metal Nib And Comfortable Writing Mechanical Pencil 2093
-
Students Use Mechanical Pencil With Metal Nib Costomized Color Mechanical Pencil 2000D
-
 +86-13056726165 (WeChat / WhatsApp)
-
 [email protected]
-
Hongkong office:RM03,24/F HoKing Comm CTR,2-16 Fayuen St,Mong Kok,HongKong,China
Tel:+852 62195386 Ningbo Factory:Guanhaiwei Industrial West Zone, Cixi, Zhejiang, China Tel:+86-0573-63630076


